Office Paper Handling Mechanisms & Printer Tray Guide
By Aisha Williams • 29th May
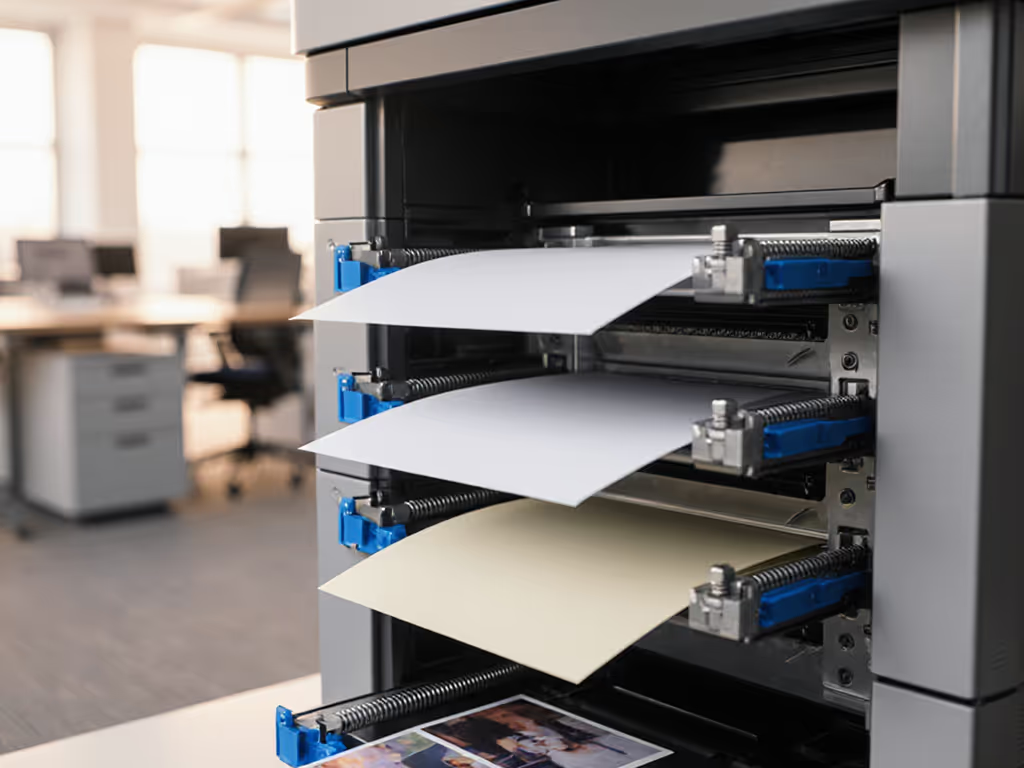
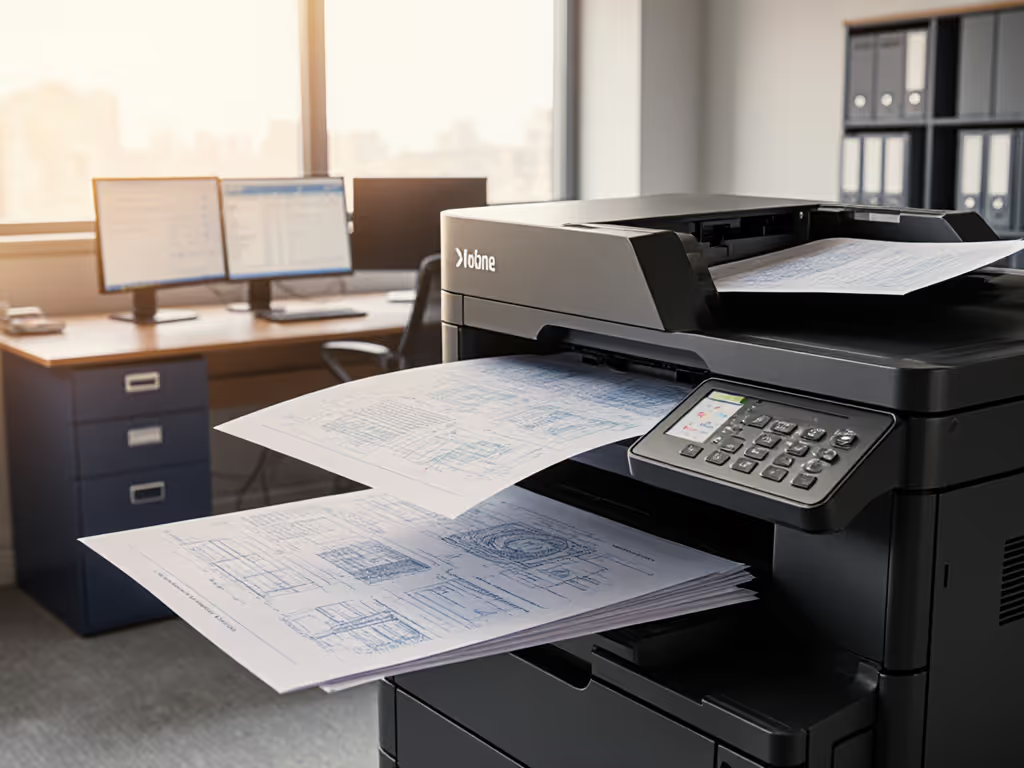
Reliable printing in a multi-user office starts with office paper handling mechanisms and a consistent printer tray configuration guide that your team can follow without thinking. This step-by-step tutorial walks you through mapping real workflows, configuring trays, and training users so jam calls and misprints quietly disappear. If you're unsure which stocks to use for each workflow, see our office paper selection guide.
Fewer tickets prove the design, not the spec sheet.
1. Start With Workflows, Not Hardware
Before you touch a tray setting, map what the device is really used for. Every step must justify itself.
1.1 Identify your document types
For each shared device, list real jobs over a normal week:
- High-volume standard jobs: invoices, statements, clinic forms, pick lists, worksheets.
- Regulated or branded jobs: prescription pads, legal contracts, HR letters on letterhead.
- Specialty media: labels, wristbands, envelopes, card stock, tabs, colored inserts.
- Scanning sources: single-sided packets, double-sided forms, mixed-size batches.
Capture for each:
- Typical paper size (Letter, Legal, A4, etc.).
- Paper type (plain, letterhead, card stock, labels, pre-printed).
- Approximate daily/weekly volume per workflow.
- Owner (department/team) and criticality (e.g., cannot miss shipping cutoff).
This gives you a concrete list of workflows that your tray plan must support.
1.2 Group similar workflows
Now group those jobs into 4-6 "media families":
- Plain standard: everyday Letter/A4 20–24 lb.
- Regulated or pre-printed: letterhead, prescription, security stock.
- Heavy or coated: labels, card stock, glossy.
- Odd sizes: #10 envelopes, small labels, long sheets.
Each family should ideally map to a dedicated tray or feed path.
This is the foundation for predictable behavior and low training overhead.
2. Understand Core Office Paper Handling Mechanisms
Your tray plan only works if it respects how the device actually moves paper. Here's a quick, non-vendor-specific tour.
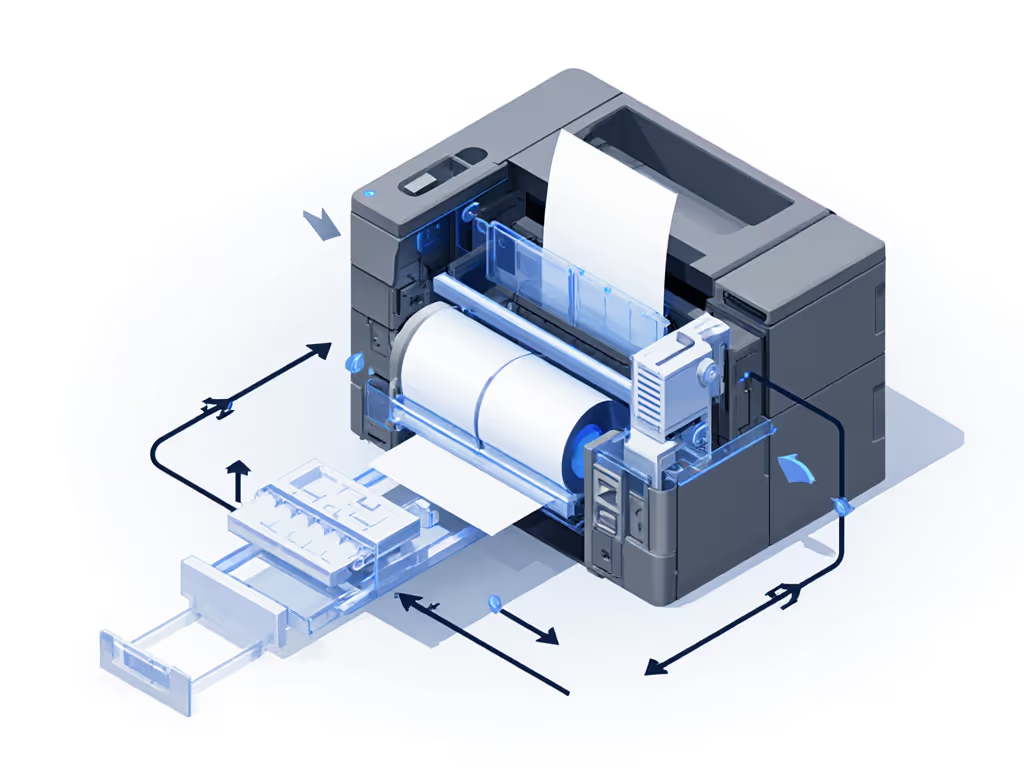
2.1 Feed paths and rollers
Most office devices share these components:
- Input trays (cassettes): Enclosed drawers for standard sizes.
- Bypass / multi-purpose tray: Open side tray for small runs and specialty media.
- Registration rollers: Align sheets before imaging; misadjusted guides force these to fight skew and cause jams.
- Duplex unit: Flips pages for double-sided output; critical for heavier media limits.
- Fuser: High heat and pressure to bond toner; wrong media here leads to curl, smearing, or adhesive transfer.
- Output paths/bins: Standard output, offset stacking, stapler/finisher.
Understanding where each media type travels lets you decide which jobs are safe in which trays and which must use the bypass/straight path.
2.2 Input mechanisms: trays and ADF
Office devices usually support a mix of:
-
Standard paper trays
-
Best for high-volume Letter/A4 plain.
-
Often support a range of weights within a narrow band.
-
Large "high-capacity" trays are most efficient when reserved for your main plain paper workflow.
-
Bypass / multi-purpose tray
-
Short, often straighter feed path.
-
Preferred for envelopes, labels, card stock, and small batches of non-standard media.
-
Automatic document feeder (ADF) for scanning
-
RADF (reversing): Scans one side, flips original to scan the other.
-
DADF / single-pass duplex: Scans both sides in one pass; faster and gentler.
An automatic document feeder comparison across your fleet should look at: For a deep dive into the tech behind faster, gentler two-sided scans, read our single-pass duplex scanning explainer.
- Duplex scan speed (ipm) and duty rating.
- Support for mixed-size originals.
- Document thickness and size ranges.
Devices with single-pass duplex ADFs are usually the right choice for front-desk, records, and AP/AR teams that scan mixed packets all day.
3. Step-by-Step Printer Tray Configuration Guide
This is the heart of your printer tray configuration guide. Apply it per device, then standardize across similar models.
Step 1 - Inventory tray capabilities
For each device, document:
- Number and size of paper trays and whether they are fixed or adjustable.
- Maximum paper tray capacity (sheets) by tray.
- Supported sizes and weights per tray.
- Any tray restrictions for specialty media.
Keep this in a simple sheet so you can compare devices side-by-side when assigning roles.
Step 2 - Assign trays by size and media family
Using your workflow groups, assign:
- Tray 1 (or main tray)
- Letter/A4 plain only.
- Use the largest-capacity tray for this.
- Set type to "Plain" and lock it in admin tools.
- Tray 2
- Letterhead or pre-printed forms.
- Load face-up/face-down per manufacturer guidance so logos and margins appear correctly.
- Tray 3+ (where available)
- Legal or other standard but less-frequent sizes.
- Mark clearly on physical labels and in the driver name (e.g., "Tray 3 - Legal Plain").
- Bypass tray
- Reserved for specialty media handling techniques: labels, envelopes, card stock, odd sizes.
- Do not let this become a second general-purpose tray; that's how jams and fuser damage start.
This ensures paper tray capacity optimization: the biggest tray always feeds the most frequent, cheapest media.
Step 3 - Lock critical media to specific trays
For regulated or high-risk workflows:
- Configure a dedicated tray (e.g., Tray 2 = Prescription Stock).
- In the driver/print queue, create a preset that always pulls from that tray.
- Restrict tray use by function or group where your print platform allows it.
This prevents "plain paper" jobs from accidentally landing on expensive or regulated stock.
Step 4 - Standardize tray roles across the fleet
Where models allow, keep a consistent pattern:
- Tray 1 - Letter/A4 plain.
- Tray 2 - Letterhead or main pre-printed form.
- Tray 3 - Legal or secondary size.
- Bypass - Specialty.
Document this in your IT knowledge base and in a one-page quick guide for users.
When a user walks up to any device and Tray 2 is always letterhead, training becomes almost unnecessary.
Step 5 - Align drivers and print presets
Trays are only half the story; the driver UI has to match. For each shared queue:
- Set default paper size/type to match Tray 1 (Letter/A4 plain).
- Create named presets such as:
- "Letterhead - HR Letters" (Tray 2, simplex, color).
- "Legal - Contracts" (Tray 3, duplex, B/W).
- "Labels - Warehouse" (Bypass, heavy/label profile, slowed speed if available).
- Ensure presets are keyboard-accessible and ordered logically in the OS print dialog.
- Apply the same naming and ordering across Windows, macOS, and ChromeOS where possible.
A small investment in presets pays off rapidly in reduced misprints and tickets. To make those presets work across different stocks, follow our paper setting optimization guide. In my own team, once we aligned presets with trays and recorded short walkthroughs, scan and print errors dropped sharply and calls shifted to simple, self-clearable issues.
4. Specialty Paper Handling Techniques (Labels, Envelopes, Card Stock)
Special media are the usual suspects in jam reports and heat damage. Handle them deliberately.
4.1 Labels
- Use laser-rated, full-sheet labels from approved vendors.
- Always feed via bypass tray using the recommended "Labels" or "Heavy" setting.
- Never run the same sheet twice; exposed adhesive can stick to rollers and fusers.
4.2 Envelopes
- Check maximum envelope weight and supported sizes in the device specs.
- Load envelopes in the bypass tray, short edge first, with flaps oriented as specified in the tray diagram.
- Use an "Envelope" media type so the device adjusts speed and fuser temperature.
4.3 Card stock and heavy media
- Confirm supported weight (e.g., up to 176–220 gsm) and which tray supports it.
- Use the straightest feed path available (often bypass tray to rear output, where supported).
- Reduce duplexing on heavy stock unless the spec sheet explicitly allows it.
Building these into job presets (e.g., "Labels - Bypass" or "Envelopes - #10") eliminates trial-and-error at the device. For deeper techniques and troubleshooting across labels, envelopes, and cardstock, see our specialty media printing guide.
5. Mixed Paper Workflow Management
Now combine everything for complex, real-world jobs that blend multiple media types.
5.1 Mixed media within a single print job
For jobs like booklets or packets with inserts:
- Use the driver's cover/insert options where supported.
- Assign:
- Body pages -> Tray 1 (plain).
- Covers/inserts -> Tray 2 (colored or heavier stock).
- Save as a named preset (e.g., "Training Booklet - Duplex + Color Cover").
If your drivers lack advanced media mapping, standardize a manual process:
- First print inserts only from their tray.
- Then print body pages and have staff merge them using a finisher or manual assembly.
5.2 Mixed originals in the ADF
For scanning packets with mixed sizes and duplex status:
- Enable mixed size originals if your ADF supports it.
- Default front-line devices to duplex scanning with auto-blank-page removal.
- For fragile or thick originals, direct users to the flatbed with a preset profile.
Create scan presets that map directly to workflows:
- "AP - Invoices to SharePoint" (mixed size, duplex, 300 dpi, OCR, metadata prompt).
- "Medical - Intake Forms" (simplex, 300 dpi, PDF/A to EMR folder).
The goal is that staff choose a preset named after their workflow, not fiddle with checkboxes.
6. Protect Uptime With Good Paper Habits and Maintenance
Even perfect tray mapping fails if the paper itself is compromised.
6.1 Storage and loading
- Store paper in its original wrapper until use and keep it in a cool, dry place away from direct sunlight and HVAC vents.
- Avoid high-humidity areas; moisture in paper dramatically increases curl and jam rates.
- Before loading a new ream, fan the stack to reduce sheets sticking together and align edges.
- Adjust side and end paper guides snugly to the stack; loose guides allow skew, tight guides cause binding.
- Never exceed the tray's max fill line; overfilling leads to misfeeds and double-feeds.
These simple habits reduce misfeeds and extend roller life, a fact consistently noted in vendor service documentation. For environment-specific safeguards, review recommended printer temperature and humidity ranges.
6.2 Jam handling and user self-service
Train users to clear jams safely:
- Follow on-screen diagrams step-by-step.
- Pull paper with both hands, following the paper path, to avoid tearing.
- Open all indicated doors and check behind each roller and guide.
- After clearing, close doors firmly and wait for the device to reset before sending new jobs.
Document this as a short, image-described guide: "If you see Jam 30.xx, do this."
Building in fallback paths (like a nearby alternate device for high-priority jobs) keeps processes moving while someone clears the jam.
7. Actionable Next Step: One-Week Tray Optimization Sprint
To turn this into results, run a focused, one-week change on a pilot floor or department.
- Day 1 - Observe and inventory
- Collect real workflows and media types for 2-3 shared devices.
- Document tray capabilities and ADF features.
- Day 2 - Design the tray map
- Assign tray roles (Tray 1 plain, Tray 2 letterhead, etc.).
- Reserve bypass for specialty media.
- Day 3 - Implement and label
- Configure trays and media types.
- Physically label trays to match logical roles.
- Day 4 - Build presets and update drivers
- Create workflow-named print and scan presets.
- Standardize across OSes and queues.
- Day 5 - Micro-training and measure
- Do 10-15 minute floor coaching at peak times.
- Track jam tickets, misprints, and "which tray?" questions before and after.
If jam calls drop and users stop asking which tray to use, your design is working.
Repeat the sprint device by device, keeping the pattern consistent.
In a well-designed fleet, every step must justify itself, and you'll hear the difference in a quieter helpdesk queue.
Related Articles